
If your garage door opens and closes smoothly, without grinding, sagging, or hesitation, a twenty-minute check once a season is really all it needs. The exceptions: homes close to the coast where salt air speeds up rust, doors more than eight or ten years old, and any door that just went through a run of afternoon downpours or a tropical system with heavy wind-driven rain. Those situations call for a closer look, sooner.
Here's a routine built around the kind of wear we see most often in this part of Florida — heat and humidity that swell wood and composite panels, salt air that corrodes hardware near Santa Rosa Beach and Destin, and hurricane-season storms that stress rollers, tracks, and seals all at once.
Tools You'll Need
- Step ladder
- Socket wrench or nut driver set
- Silicone-based garage door lubricant (not WD-40, which attracts dust and grit)
- Clean rag or shop towel
- Flashlight
- A tennis ball or block of wood (for the balance test)
The 20-Minute Routine
1. Look at the tracks before you touch anything (3 minutes)
Shine the flashlight along both vertical tracks and the curved sections overhead. You're checking for rust spots, dents, or gaps where the track has pulled away from the wall. Light surface rust on the tracks themselves is common in salt-air areas and usually cosmetic. A bent or separated track is not — that's a sign the door has been forced or has come partly off its rollers, and it's a technician job.
2. Tighten the hardware you can safely reach (4 minutes)
With the door closed, go over the roller brackets, hinges, and track bolts with your socket wrench. Garage doors flex every time they open and close, and that constant motion works lag bolts and hinge screws loose over months of use. Snug everything up.
Do not touch anything near the torsion spring above the door, or the two cables running down either side. Those stay under tension even when the door looks still, and loosening or tightening near them is how people get hurt.
3. Lubricate the moving parts (3 minutes)
Apply silicone lubricant to the rollers, hinges, and the track itself where the rollers ride. Wipe off any excess with the rag so it doesn't attract dust. Humidity in this area tends to gum up old grease and let squeaks creep in faster than in drier climates, so this step matters more here than the manual might suggest.
4. Run the balance test (3 minutes)
Pull the manual release cord to disconnect the opener, then lift the door by hand about halfway and let go. A properly balanced door will stay put. If it drifts down or shoots up, the springs are compensating incorrectly for the door's weight — this is one of the most reliable early warnings of spring wear, and it's not a DIY fix. Reconnect the opener when you're done testing.
5. Check the weatherstripping and bottom seal (3 minutes)
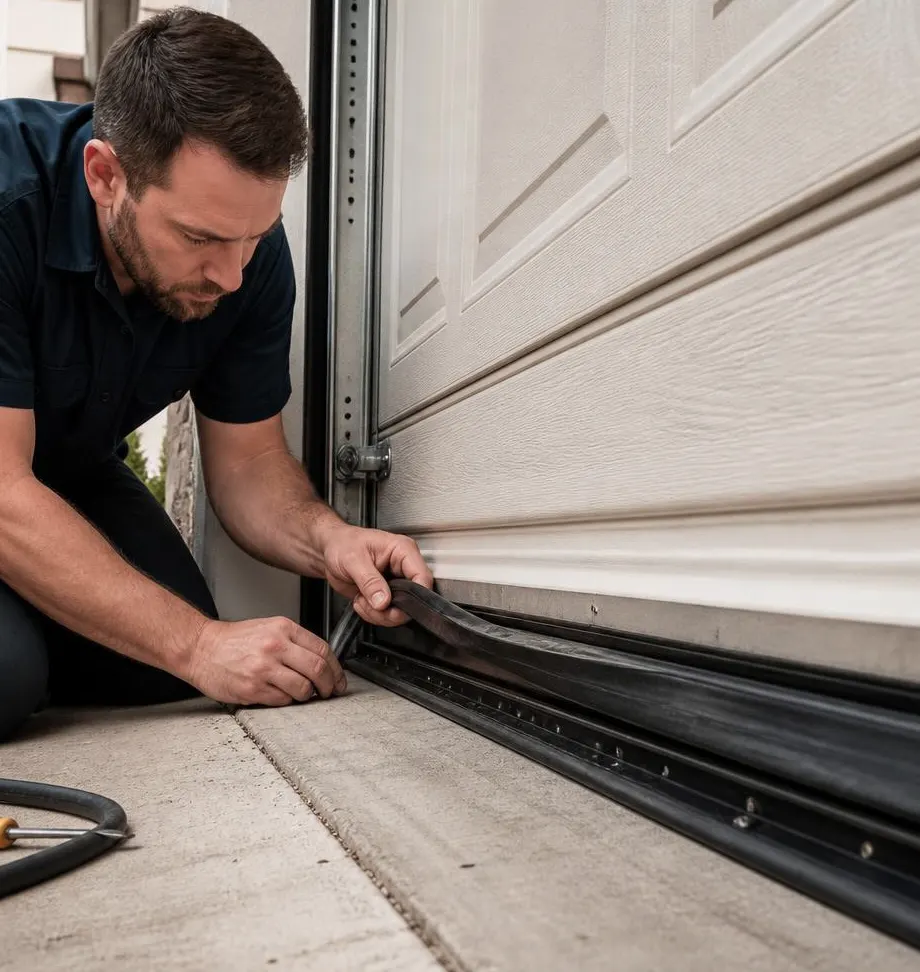
Run your hand along the rubber seal at the bottom of the door and the strips along the sides. Afternoon downpours push a surprising amount of water and wind-driven debris under a worn seal. Look for cracking, flattening, or gaps where daylight shows through. A seal that's swelled, split, or pulling away from the door lets in moisture that speeds up rust on the bottom panel and hardware — replacement strips are inexpensive and most homeowners can swap them without help.
6. Test the auto-reverse safety sensors (2 minutes)
Close the door and wave a broom handle through the sensor beams near the floor on each side. The door should stop and reverse immediately. Then try closing it onto a block of wood laid flat on the ground — it should reverse on contact. If either test fails, stop using the opener until it's fixed; this is a safety system, not a convenience feature.
7. Wipe down and inspect for rust near the coast (2 minutes)
If your home is closer to Santa Rosa Beach, Destin, or Fort Walton Beach, give the hinges, track brackets, and bottom panel a quick wipe-down and look specifically for orange rust bloom rather than the dull grey of normal wear. Salt air accelerates corrosion on exposed steel, and catching it early with a wipe and a light coat of lubricant is far cheaper than replacing pitted hardware later.
What's a Homeowner Job vs. a Technician Job
Visual inspection, tightening non-spring hardware, lubrication, the balance test, sensor testing, and weatherstripping checks are all safe and reasonable for a homeowner to handle. Anything involving the torsion spring, the lift cables, a door that's come off its track, or a panel that's cracked or rusted through needs a technician — the tension and weight involved make these jobs genuinely dangerous to DIY, not just inconvenient.
When to Call Freeport Overhead Door Co
If your balance test shows drift, your sensors don't reverse the door, or you're seeing real corrosion instead of surface rust, it's time to call us. We handle Garage Door Spring Repair for doors that are out of balance or showing worn coils, and our Preventive Maintenance & Tune-Ups service covers everything in this checklist plus the parts that need a trained eye — spring tension, cable condition, and opener calibration — before hurricane season puts extra strain on all of it.
If your twenty-minute check turns up anything that doesn't look right, give Freeport Overhead Door Co a call. We serve homeowners throughout Freeport, Niceville, DeFuniak Springs, Santa Rosa Beach, Destin, Fort Walton Beach, Crestview, and Valparaiso with same-day availability and honest pricing.